Vegetable Nests
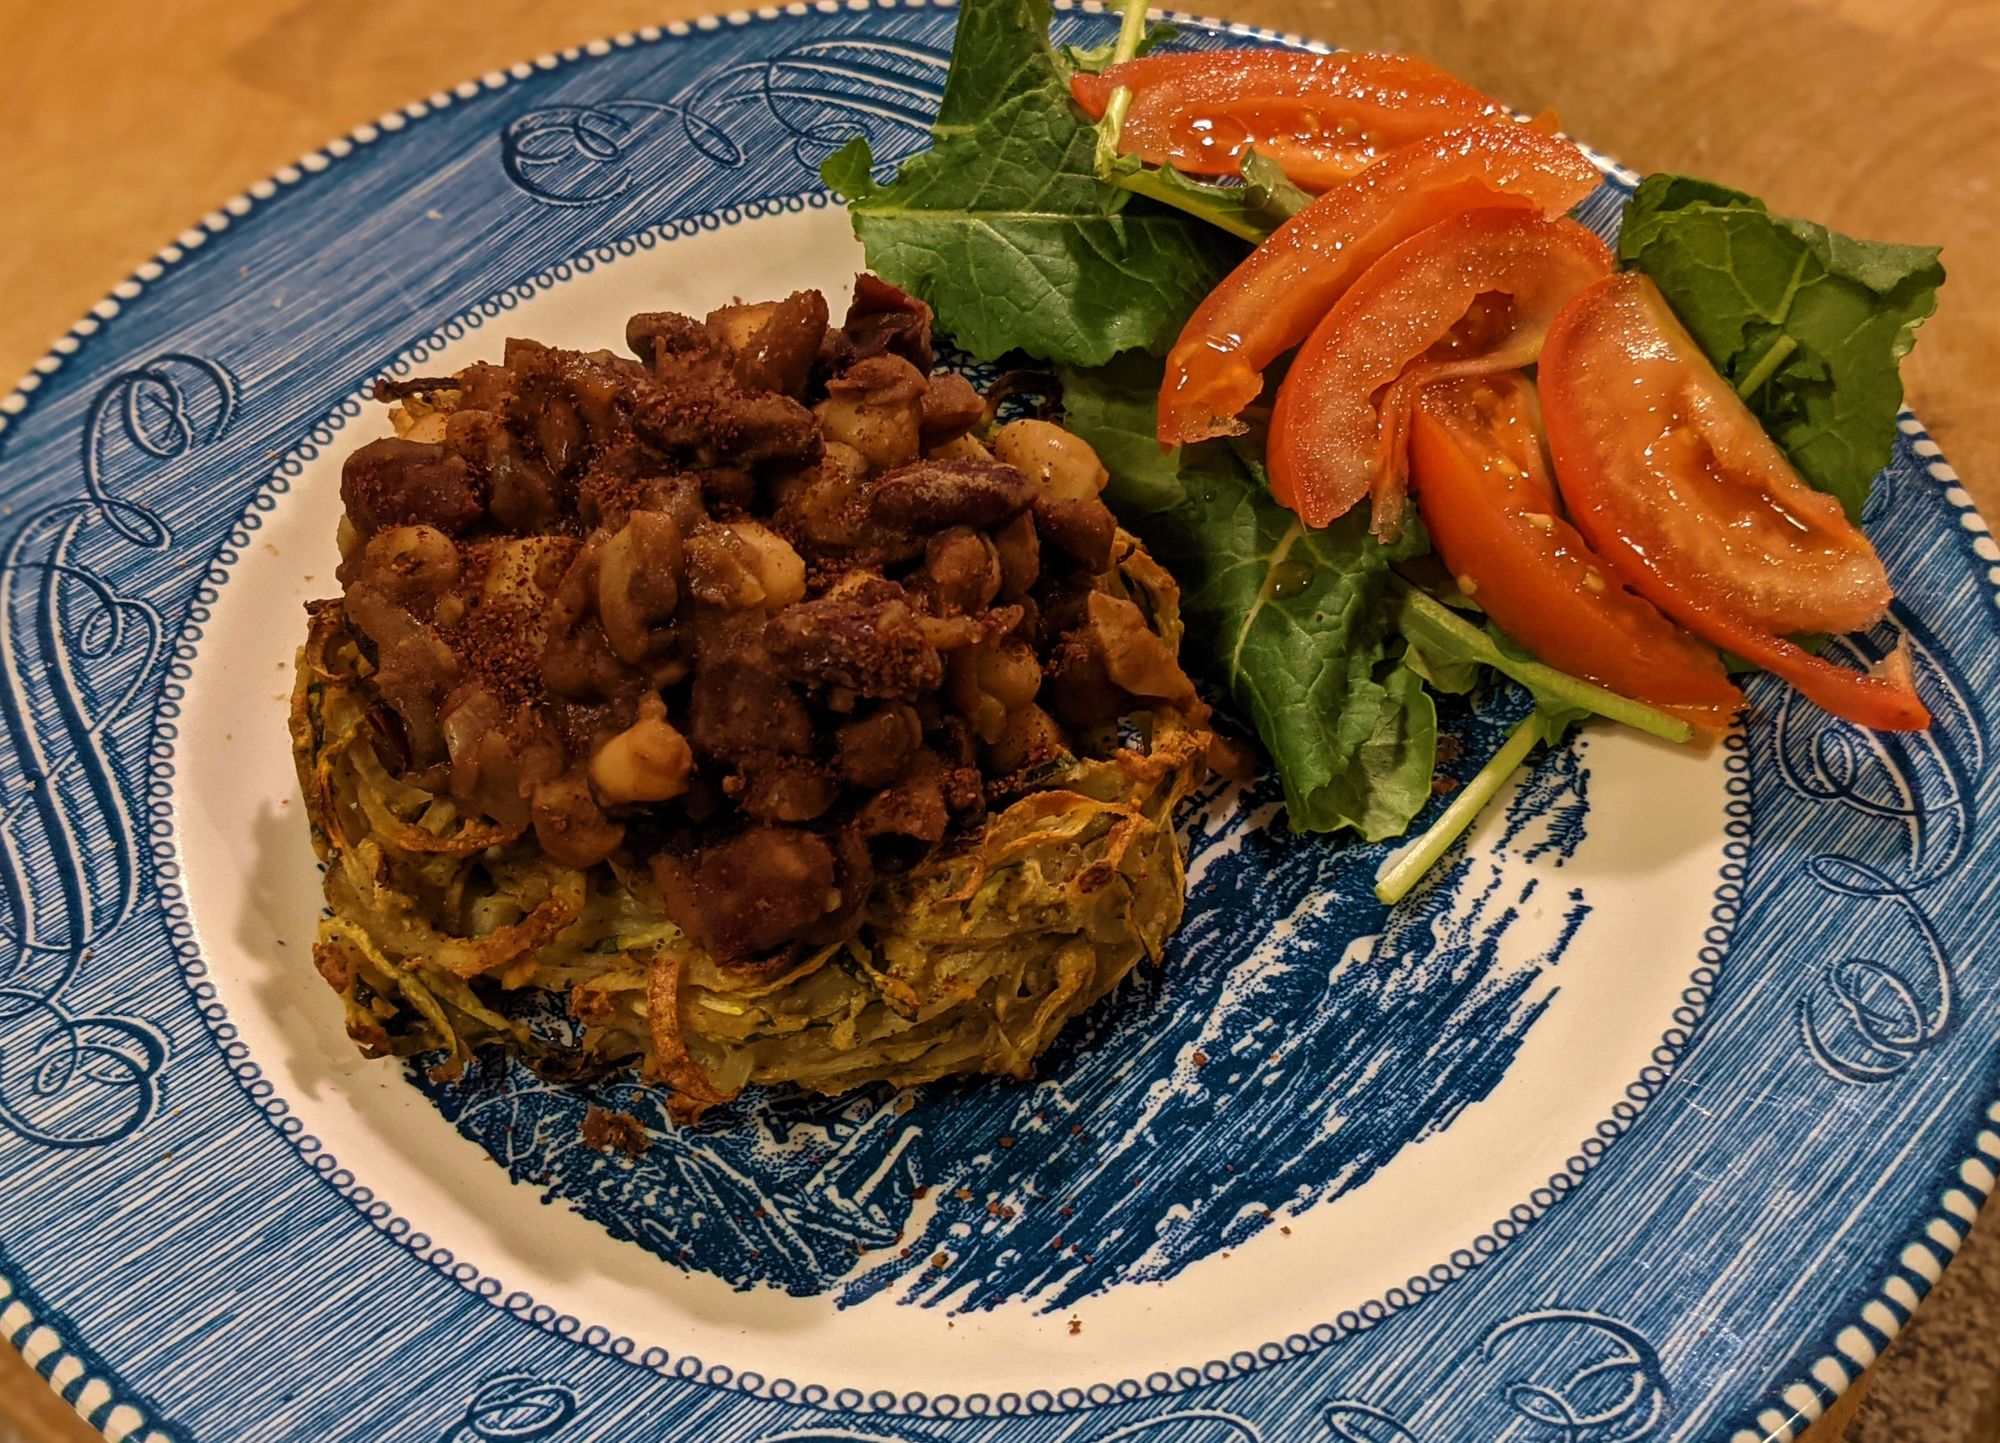
How pretty are these- protein filled low fat vegetable nests that are delicious on their own, or used as a vehicle for a bean filled chilli or a queso dip. You can even make mini versions of these as party nibbles. These are vegan, low sodium, gluten free, and can be frozen to reheat later.

One of my favourite items to pick up from one of our local supermarkets is a box of frozen vegetable nests- a bunch of fried mini bowls of salty carrot, potato, and zucchini (courgette) which are sadly much higher in calories than I would like. So, I figured I'd try to re-create these but with less sodium, fewer calories, and even a little extra protein. This is the perfect excuse to break out that spiralizer or julienne vegetable peeler. These nests can be frozen after they have cooled, ready to be re-heated for a quick dinner. You can experiment with sizes too- these are a bit bigger than the ones I was buying pre-made, but I think that makes them the perfect vehicle for a topping. Here I topped them with some smoky baked beans and a sprinkling of sumac.
Ingredients
1 large zucchini/courgette
2 potatoes
1 small yellow onion
1 tsp garlic powder
1 tsp onion powder
black pepper to taste
Seasoning to taste- I used a generous sprinkle of Mrs Dash's Table Seasoning
1 1/4 cups chickpea flour
Method
Using a vegetable spiralizer, or julienne peeler spiralize /julienne the potatoes and zucchini/courgette. Thinly slice the onion.
Place the vegetables into a large bowl and season with the garlic powder, onion powder, pepper, and any other seasoning you fancy.
Cover and set to one side for an hour to allow the flavours to infuse.
Preheat the oven to 400°F/ 200 °C.
Add the chickpea flour to the vegetables and mix, this will act almost like a glue allowing the vegetable strands to stick together.
Form into nest shapes and place on a lined baking sheet.
Bake for 15 minutes and serve fresh.
If freezing for later, bake for 12 minutes, and let cool before transferring to the freezer where these can be kept for up to 9 months.

